


Happy Camper Release - LOL
- Susan Valle
- Jul 31, 2025
- 4 min read
Updated: Aug 10, 2025
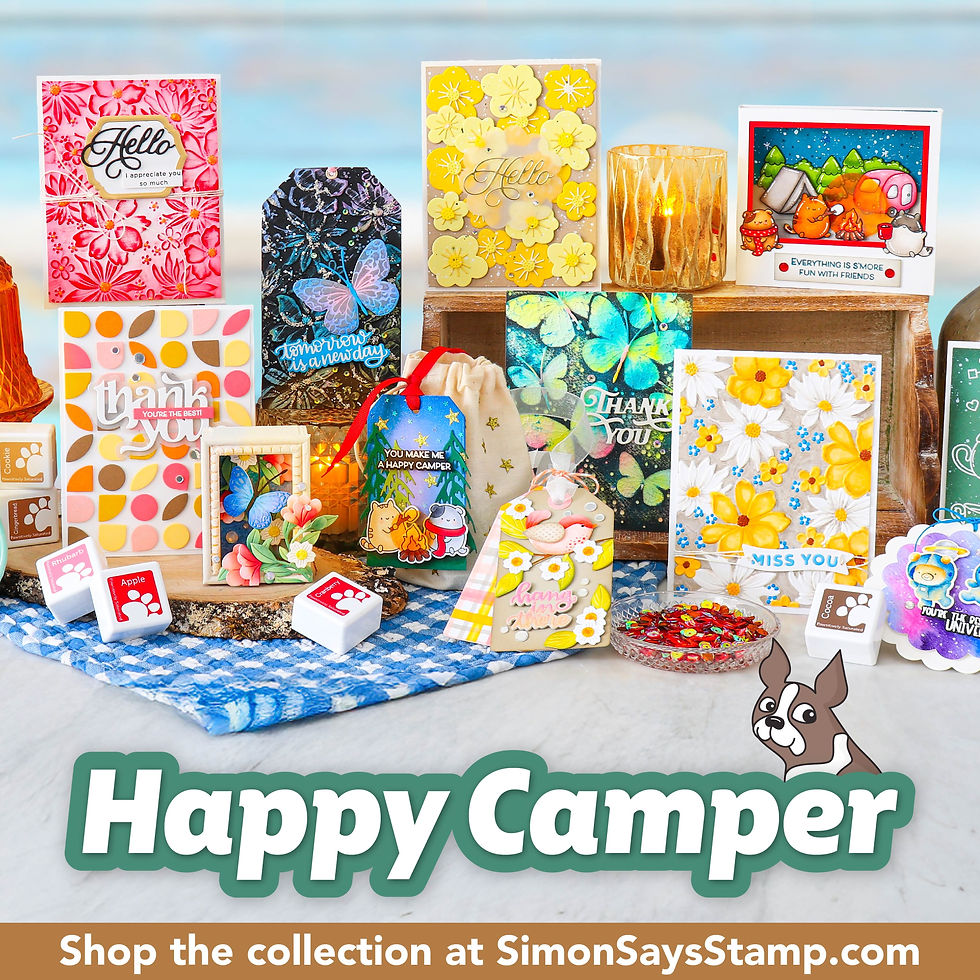
Hi Friends!!! It's that time of month again. It's Release Day at Simon Says Stamp. It's their HAPPY CAMPER release. Go check out the full product release here: Happy Camper Release.
Some affiliate links may be used at no cost to you.
I was privileged enough to get to us the new CZ Design LOL stamp set from this release. This set is mostly a sentiment set but also has a few fun Happy Face icon images to go along with all the sentiments. I love the different graphic fonts of the LOL.
Here are four projects I created featuring the LOL stamp set.
CARD 1

This card was relatively easy to create. I stamped the boldest two LOL sentiments using a variety (Cherry, Marine, Limelicious, Grapefruit, Sweets, Carnation, Citrine, Iris, Orchid, Tidepool) of Simon Says Stamp pawsitively saturated inks on Hammermill 80lb cardstock. I then cut the stamped images out using my Brother Scan N Cut as I did not have the coordinated die. I then cut blank images out as well so I could use them to stack 2 white layers behind the stamped layer for some dimension.
I took a 4 1/4 x 5 1/2 white CS panel and stamped it with SSS Flannel ink using the SSS Tiny Dots and Hearts background stamp. I then laid out my stamped sentiments/images diagonally leaving a space for the stamp sentiment. I did not glue down the stamped LOLs but I took a picture with my phone of the layout. I stamped the sentiment using Versafine Onyx Black in and heat embossed with clear ink.
Then I could glue down the images in rainbow order. The areas that over hung the card where trimmed off using my Spellbinders scissors one they had dried.
Card 2
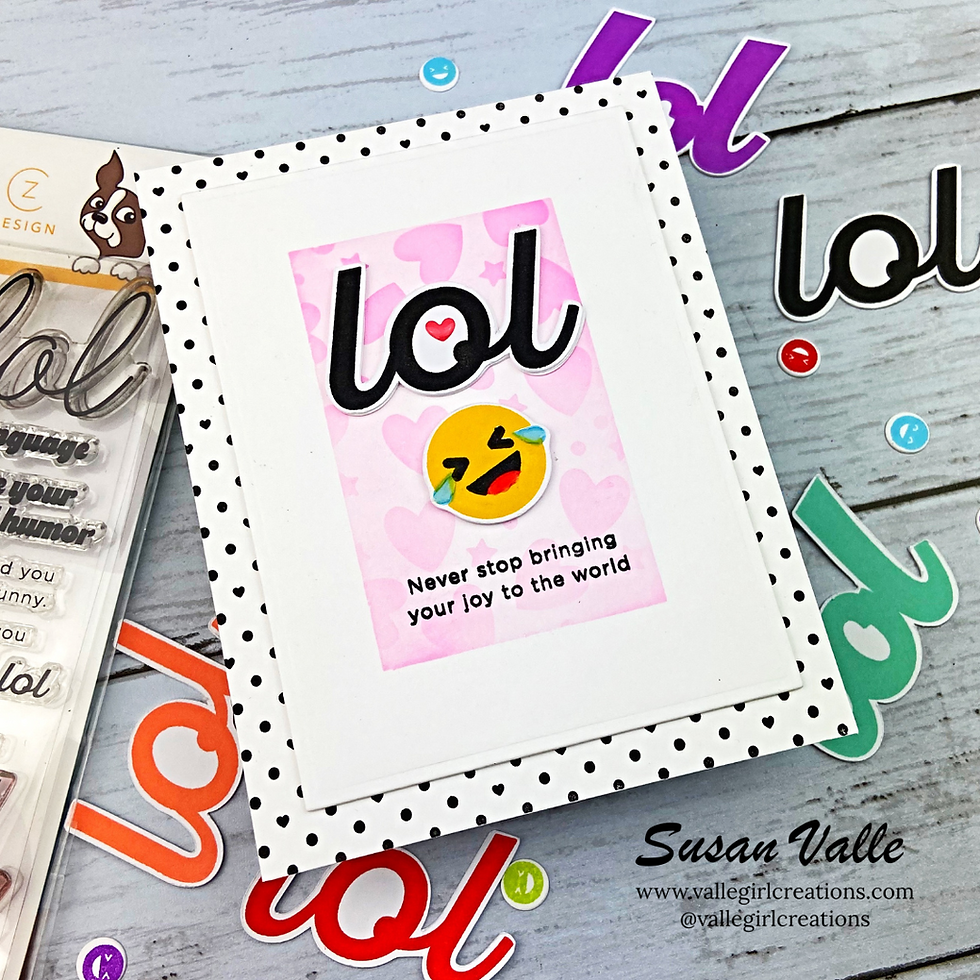
For card number two the focal point was created with the LOL sentiment stamped in Black and cut out the with the Brother Scan N Cut. The set has this cute layered stamping image of a laughing emoji. I stamped that as well and it was cut the same as the other images. I wanted to ground the images so using a Spellbinders rectangle die I cut a white CS panel. I then created a mask using GinaK masking Magic and a smaller rectangle die. I used SSS Carnation Ink and ink blended the rectangle with a light blend of ink. Then I laid the SSS Hearts and Stars stencil over the masked area and stencil again using Carnation using a little heavier hand. Before glueing down the LOL and Happy face images I laid them out over the pink area so I could see where to position the sentiment/phrase. This was stamped using the Versfine Onyx Black ink.
For the background I again took a 4 1/4 x 5 1/2 white CS panel and stamped it with Versafine Onyx Black ink ink using the SSS Tiny Dots and Hearts background stamp. The black ties in the graphic LOL and sentiment.
I mounted that panel to a top folding card base and then glued the 3 3/4 x 5 focal point panel to the stamped panel. I did add additional dimension to the smaller panel by glueing 2 scrap panel behind before glueing to the background. I think added an enamel heart.
Card 3

Card number 3 is a variation on the formulas used for Card 1 and 2. I first cut out a 3 3/4 x 5 in. White CS panel using the Spellbinders matting dies. I then used SSS Flannel and stamped text on the panel using the SSS You Matter Background stamp.
Since I didn't have the coordinating die I needed away to easily stamp and cut out the happy fave emojis. I found a die from a C9 stamp set that was a similar size circle. It also cut out multiple circles. I cut a bunch from white CS then placed the negative space of the cut out into my Misti stamping platform. I put 3 or 4 circles back into the negative space and then positioned the stamps over the circles. This then served as a template/jig that I could easily stamp the images, pop them out, add in new blank circles and then stamp in additional colors. I layer each emoji with 2 blank circles.
I glued the thickest LOL image on the stamped panel then began laying out the different happy faces around the LOL image. Once I was happy with the position, I glued them down, let them dry and then trimmed any over hanging the panel.
I cut a 4 1/4 x 5 1/2 light blue CS panel glued it to a card base then glued the 3 3/4 x 5 in focal point panel to the card.
CARD 4

Card 4 is a bit more clean and simple. I tool a 4 1/4 x 5/12 CS white card stock panel. On the bottom half ( give or take a bit --- I eyeballed it). I stamp the SSS Way Circles Background on the card panel using Versafine Onyx Black Ink. I love the bold graphic of this stamp. I then took some additional stamped smiley face emoji images left over from Card 3 and lined them up in rainbow order along the top edge of the stamped section. I then Figured out where I wanted the LOL image (this is the thinest of the typography) and then stamped sentiment " Thanks for making me" in black ink before I glue down the LOL image (cut using my Scan N Cut).
I'll be sharing my cards over the next week or so on Instagram. Please check out the other designers and the Live of Simon Say Stamp YouTube Channel Friday Aug 1 at 12:00 PM EST. https://youtu.be/Z5jenwAyrfE
Some affiliate links may be used at no cost to you.
Simon Say Stamp & CZ Design - LOL Stamp and Die (stamp can be purchased on its own)
Simon Says Stamp Tiny Dots and Hearts Background Stamp
Simon Says Stamp Tiny Words
Simon Say Stamp Wavy Circles Background Stamp- No longer available
Simon Says Stamp You Matter Background stamp
Simon Says Stamp Pawsitively Saturated ink
Simon Says Stamp Hearts and Stars Stencil
Spellbinders A2 Matting Basics A
Brother Scan N Cut Amazon or EBay ( I found a less expensive option on EBay)


Comments